

I finally got a moment to create a new tutorial + I've been wanting to make some pillows, so it all came together. My idea was to make a typography pillow, then I remembered the notebooks I made a little while back, which serendipitously inspired this pillow. Let's get it started....

SUPPLIES
.drillcloth, muslin, old sheet (like mine), or fabric of choice
.non-toxic acrylic paint
.stenciling paintbrush (other paintbrushes work too)
.stencils
.old pillow
.scissors


Voila'! There you have it - the basic formula for making an envelope pillow, so now you can make them for your nest, for loved ones, special occasions, gifts, and holidays. Yay! By the way, I'm very pleased with how my recycled pillow came out. It looks brand new - like I bought it from some high end boutique. I love recycling!
TIP
- I recommend washing your pillow inside out on a gentle cycle to preserve the design.
.scissors

INSTRUCTIONS
1. Cut a long rectangular piece of fabric 42" long x 19" wide. The finished pillow will be 18" x 18".
2. Fold over the unfinished end 1/4" and press flat. Fold it over 1/4" again and press the seam flat. Do the same thing for the other unfinished end.
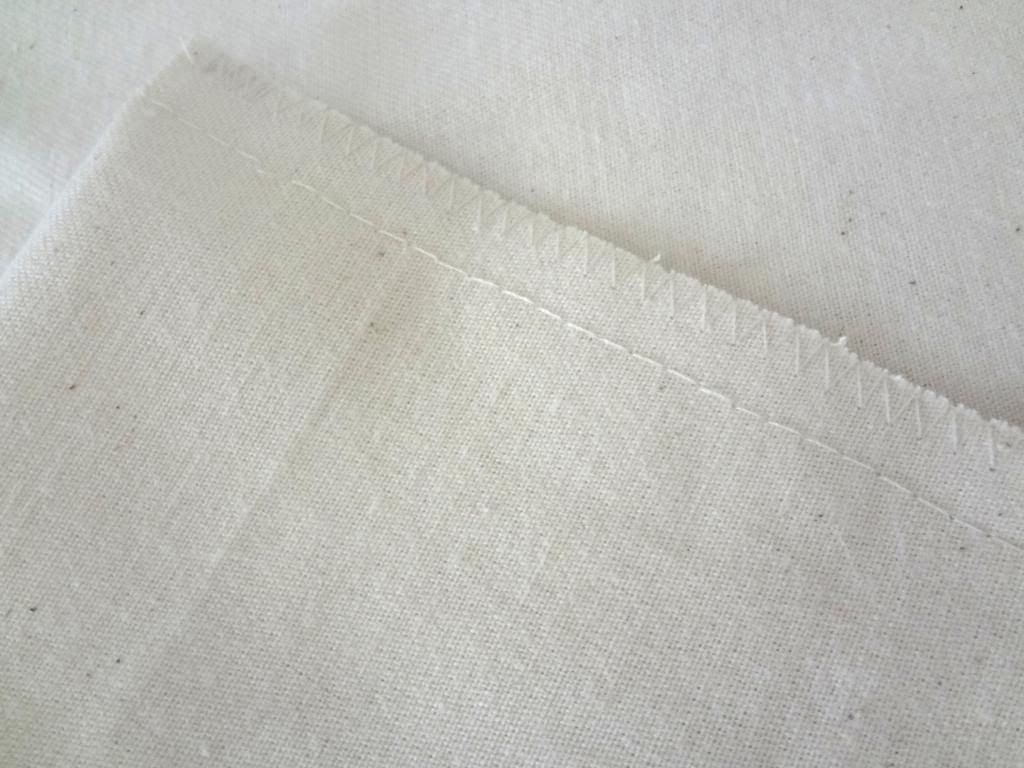
3. Sew the seams that you just pressed, remembering to stitch back & forth each time you begin and end a seam.
4. Now that you've sewn the seams on both ends, overlap one end over the other, creating an 18"x18" square. Pin the fabric in place along each side. Sew your seam about 1/2". (Always remember to secure your stitching by sewing back & forth at the beginning and end of seams. In high school Home Ec, they taught us to sew forward 5 times, back 5 times and forward again 5 times).
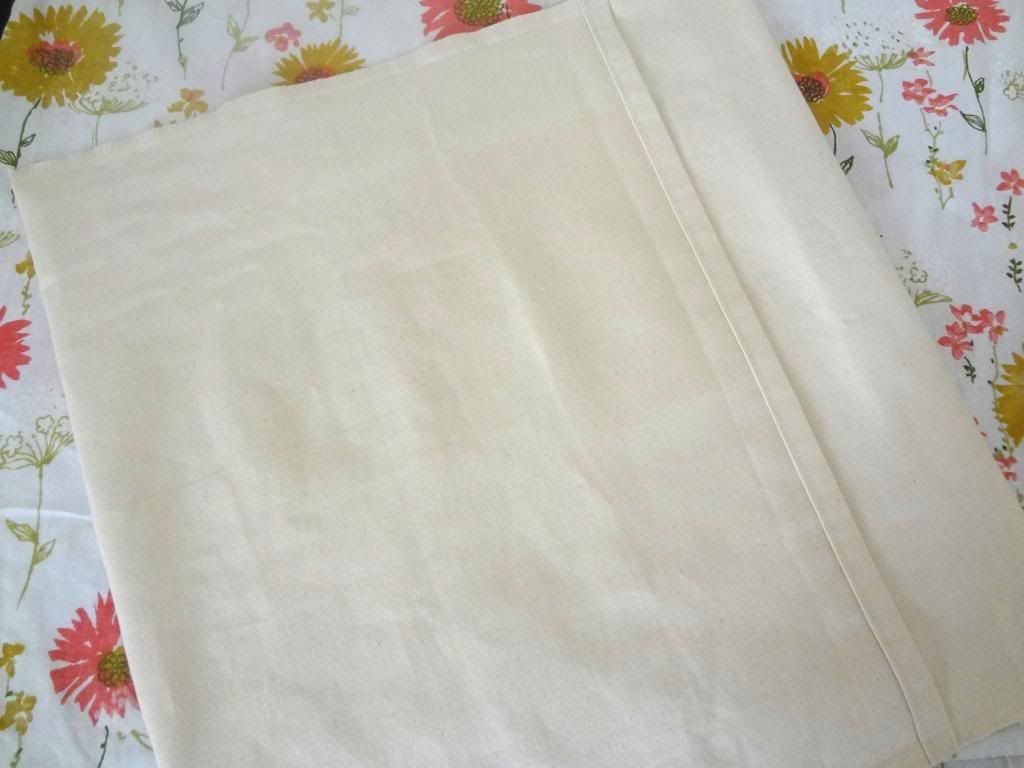
5. To keep your seems from unraveling along the unfinished edges, I'd suggest doing a zig-zag stitch. Turn your pillowcase inside out that's it! We're done with the sewing portion of your pillow. Now let's stencil away.
NOTE: You may be wondering why I didn't stencil before I stitched the pillow together. It's simply a matter of preference. I prefer to stencil my pillows after they're made, but you can do yours in another order. However, if you want to embellish your pillow with other things like rick-rack, buttons, felt, etc., I suggest you embellish before sewing it all together.
6. I eyeballed where I wanted to put my letters in the center of my pillow using my stencils and proceeded to fill in the letters with my paint & paintbrush. Again, you can do it differently by measuring with a tape measure or whatever is most comfortable for you.
7. Heat seal the paint onto your pillow by placing a thin piece of fabric over the design and dry iron it - no steam please. Set the iron to the fabric setting that your pillow is made from and iron the design side to side and up and down for a few minutes. Be mindful not to let the iron sit on the design, as you don't want to scorch the pillow.
7. Heat seal the paint onto your pillow by placing a thin piece of fabric over the design and dry iron it - no steam please. Set the iron to the fabric setting that your pillow is made from and iron the design side to side and up and down for a few minutes. Be mindful not to let the iron sit on the design, as you don't want to scorch the pillow.
Oh, I almost forgot to add that I did some topstitching along the outer edge of my pillow because I wanted another visual element besides the stenciling, but again, you can add any elements you want. It's all about what you want on your pillow. Finally, I stuffed my new cover with an old pillow that I refused to throw away (recycling, baby!) or you can make a new pillow insert if you like.
TIP
- I recommend washing your pillow inside out on a gentle cycle to preserve the design.
This is a great tutorial! I'm looking forward to some stenciling projects very soon. :-)
ReplyDeletep.s. How does the acrylic paint hold up with washing this pillow case or is this a project where spot cleaning is recommended?
The paint should hold up fine. It might lighten up a bit if washed on the regular cycle, but taking added care like washing inside out on a gentle would certainly preserve the design.
ReplyDeleteGreat question thanks for asking. :)