
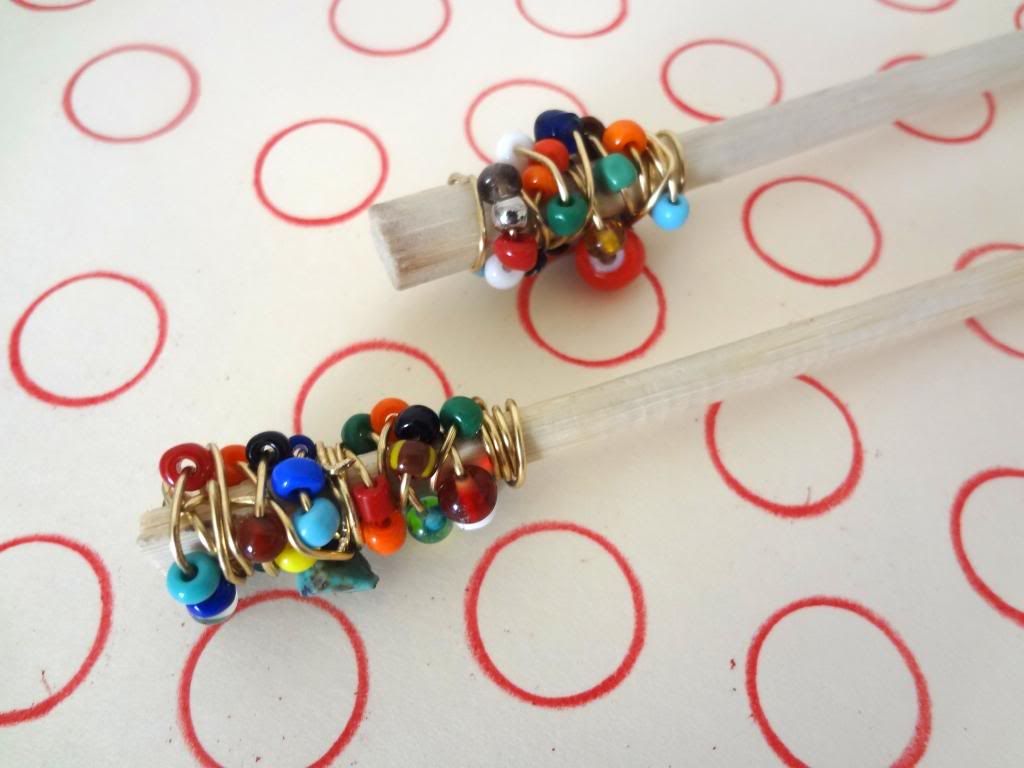
Chopsticks can easily and quickly be turned into a pair of fabulous hair sticks and here's how.....

How To Make Beaded Hairsticks
Materials
- *beads of choice
- chopsticks
- craft wire
- wire cutters or *junky scissors
- jewelry pliers
- sandpaper (optional)
*NOTE: 1. small beads work best for this project. 2. if you don't have wire cutters, use junky scissors used for various projects around the house; not good fabric cutting scissors. I never use my good fabric cutting scissors for random crafty projects. Hmm, I just noticed how I keep using the word "good" in front of fabric cutting scissors. I apparently place my fc scissors in high regard. :)
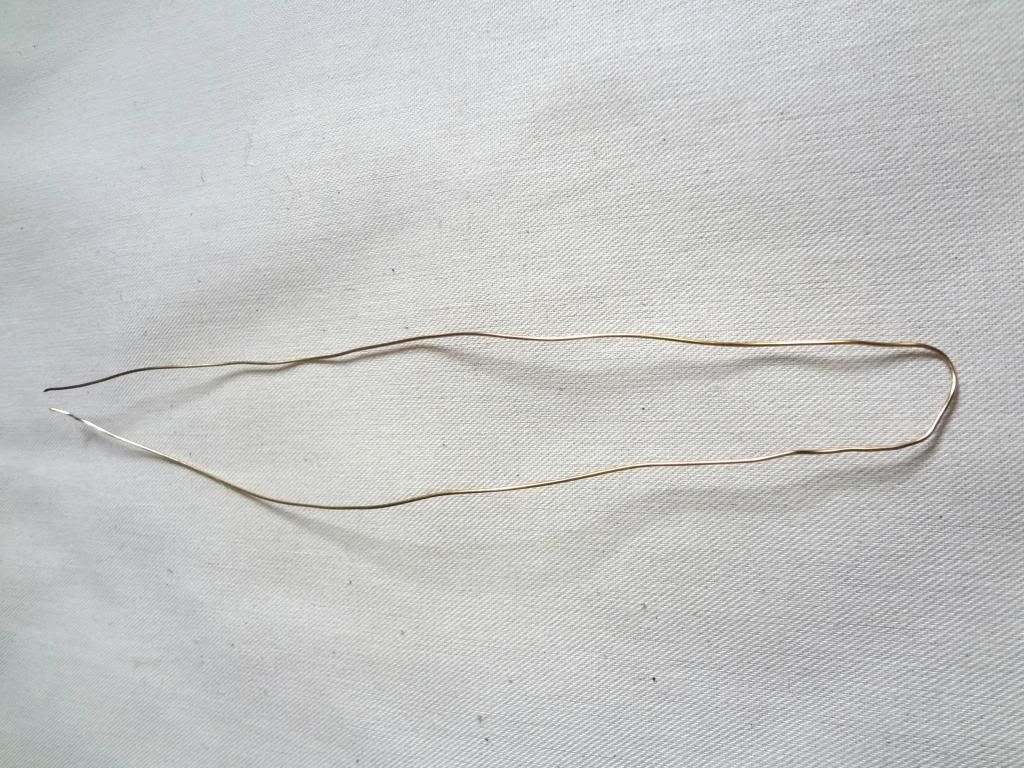
1. Measure out a piece of wire 15"-20" long

2. Wrap the wire tightly around the chopstick a couple of times so that it doesn't slip off. Don't add the wire too closely to the top because you're going to add beads AND wrap upward.
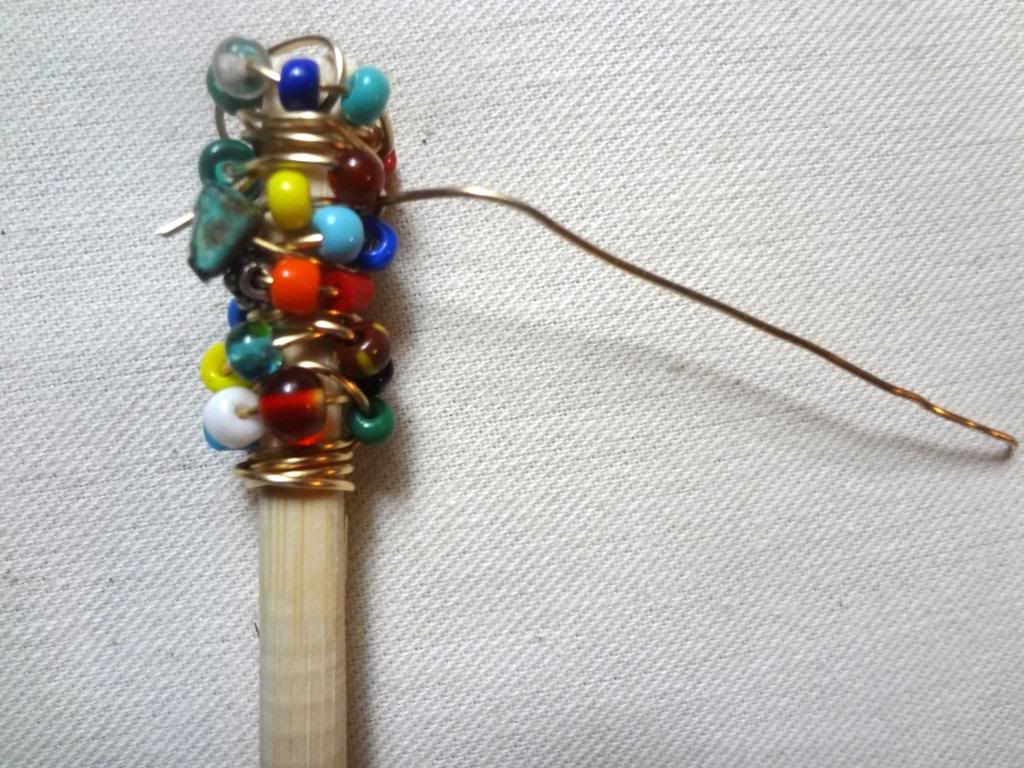
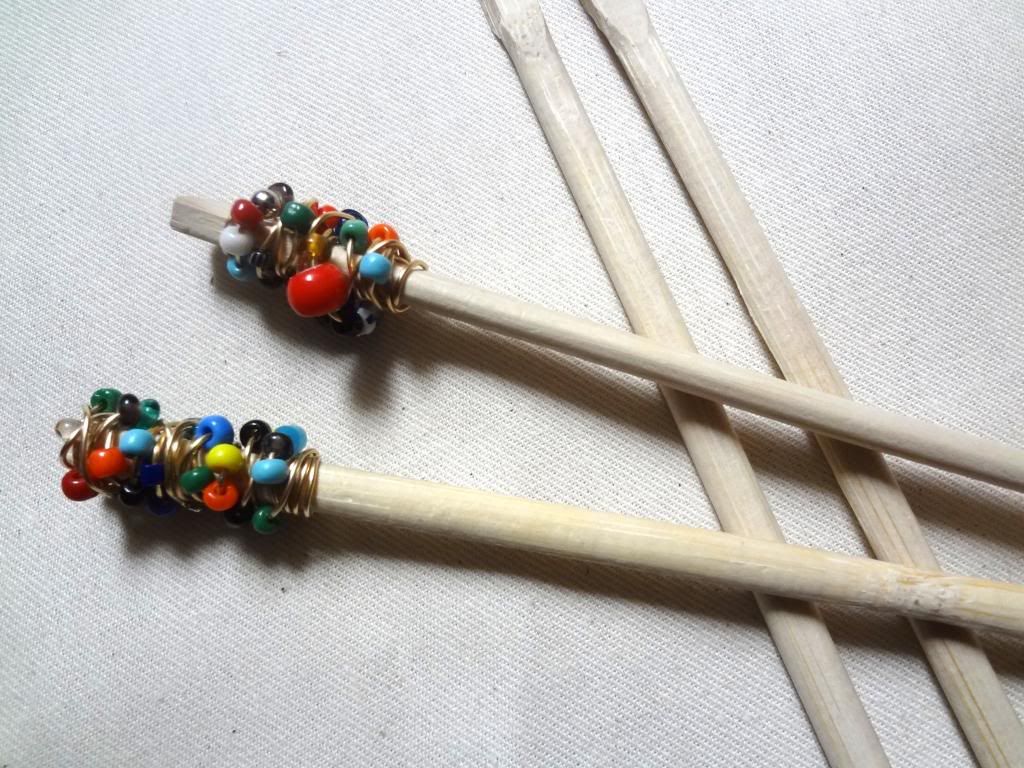
3. Begin to add your beads and wrap the wire taughtly around the stick as you continue to add beads.

4. As you get to the top, you should have some wire leftover. Tuck the extra wire into other strands of wire and wrap that wire around in between the beads with the help of your pliers.
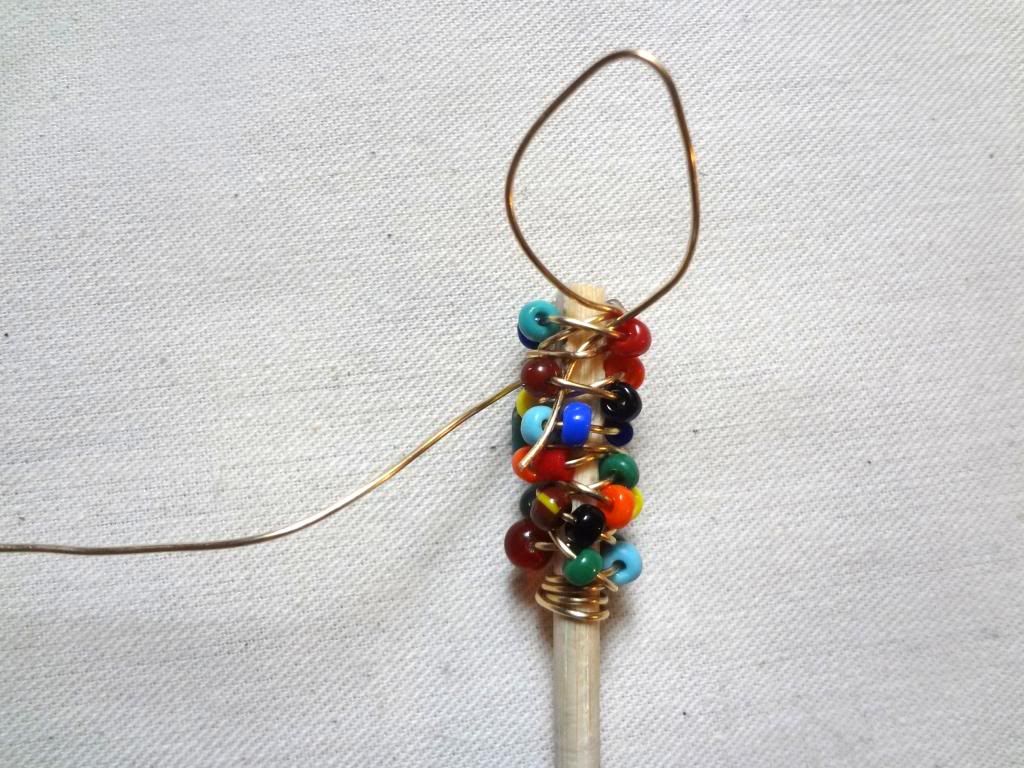
5. Make sure both ends of the wire are completely tucked in between the beads and other wire.

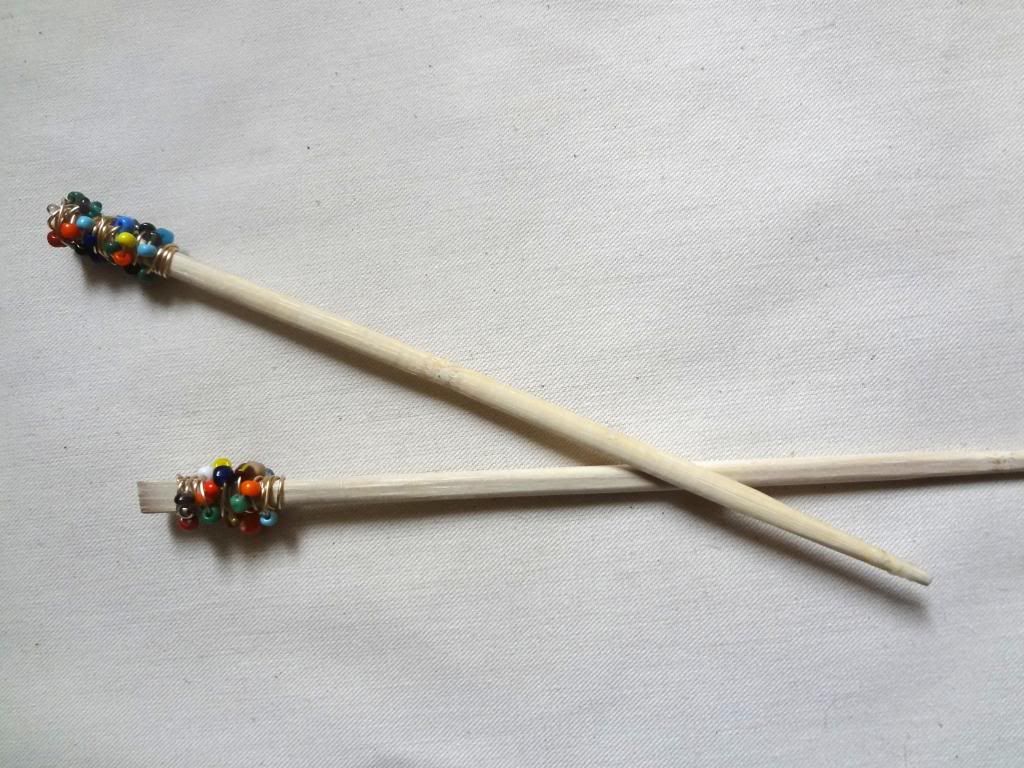
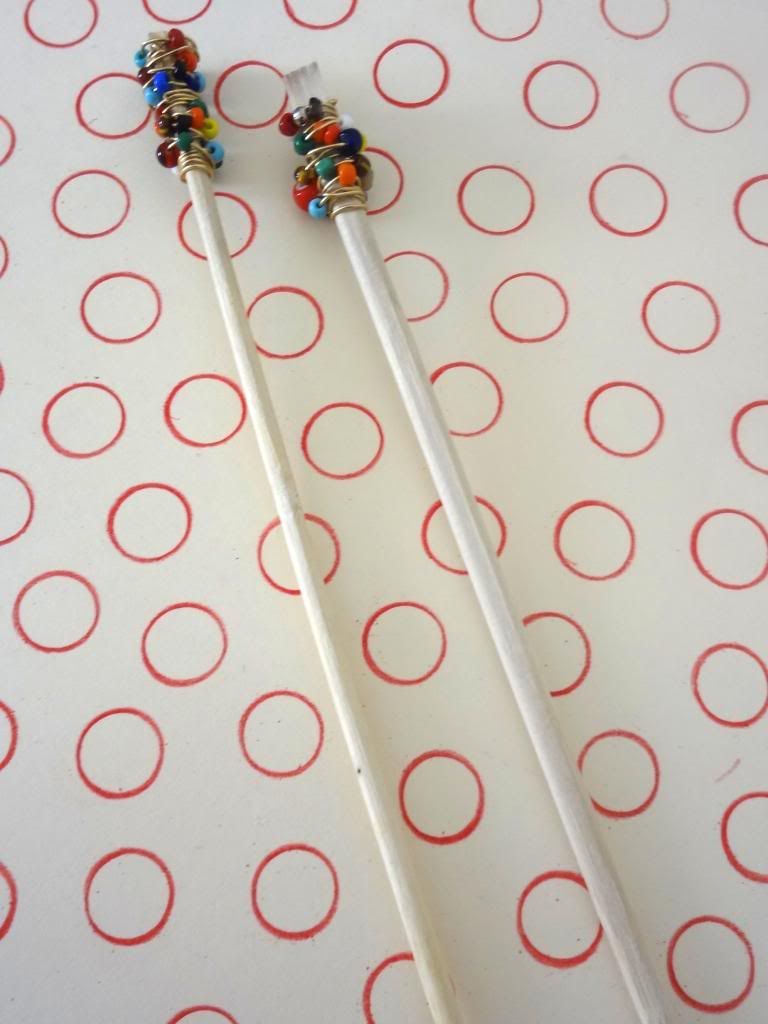
That's it! You now have some super cute, handmade hairsticks that you upcycled from chopsticks. You can sand your sticks with the sandpaper for an extra smooth finish because sometimes chopsticks have unsmooth parts and you don't want them to snag your hair.
Also, notice in the above photo that I beaded one stick to the top and the other I left some of the wood showing. I was just experimenting to give you some options/choices.
This makes a sweet gift for loved ones who 1) adore handmade items and 2) love to experiment with their hairstyles. :)
Thankyou, a lovely gift. On "to do "list
ReplyDeleteThanks for the nice comment! Have fun making them.
Delete