


Raise your hand if you've upcycled food cans before. I think most everyone has done this craft activity at some point or another - and it probably took place when you were a kid. Well, that's when I remember doing it.

There are so many ways in which you can cover a can. You can do it with fabric.

You can cover the entire backside of the paper with glue and adhere it to the can. You can glue stick one end and place it over the other end.

You can even give a glossy finish to the outside of the paper by using a paintbrush to apply modpodge to the entire paper surface.

I'm going to show you the simplest version for the sake of this tutorial and you can modify it to fit your individual needs. Most of all, have fun with it.

MATERIALS
. soup cans
.decorative papers
. paper cutter
. white glue or glue stick
. piece of tape (optional)

1. Cut a piece of paper to the height and length of the can. Add 1/2" to the length before cutting.

2. Tape the center of one end of the paper like the photo above.
3. Add a strip of white glue or glue stick down the length of the other end of paper.

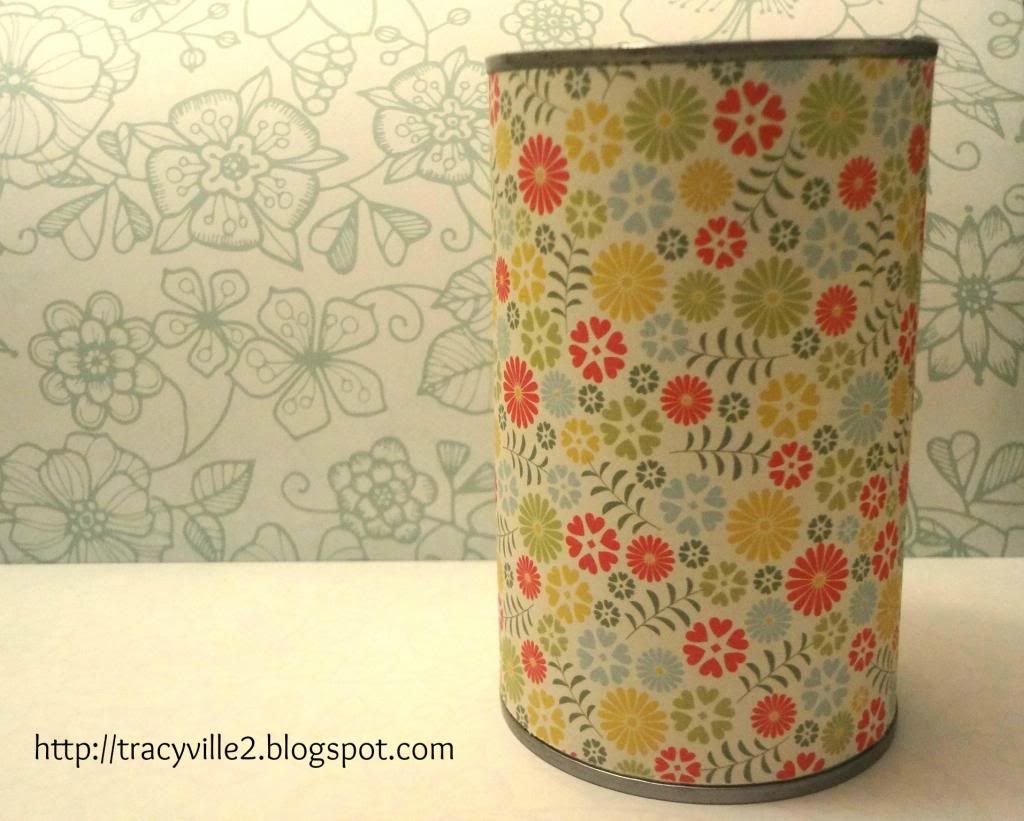
4. Roll the can until it goes over the glued end of the paper. Press down in place and you're done. These cans make great organizers, but please make sure the raw edges of the inside of the can have been cut off or flattened with pliers, so they won't cut anyone's fingers when handled.
Now fill you cans with your craft supplies, office supplies, pet products, tools, etc. Enjoy! :)
Now fill you cans with your craft supplies, office supplies, pet products, tools, etc. Enjoy! :)


No comments:
Post a Comment