

I have three main principles when it comes to tutorials: 1) fast, 2) easy and 3) affordable and this here tutorial covers all 3 of those bases.

If you're a hardcore crafter, you probably already have all of the materials on hand - including the frame.

Materials
. old file folders (what I used), or cardstock
. stamps*
. ink pad
. colored pencils
. frame*
. paper cutter


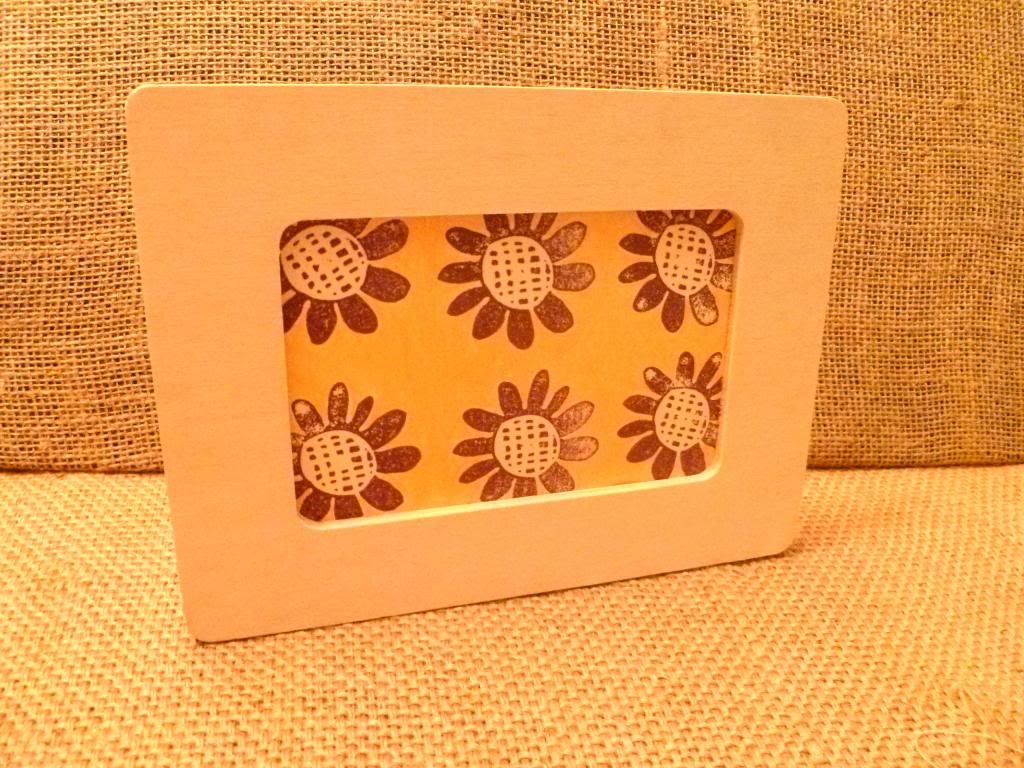
2. Stamp a design on your cardstock or file folder paper.


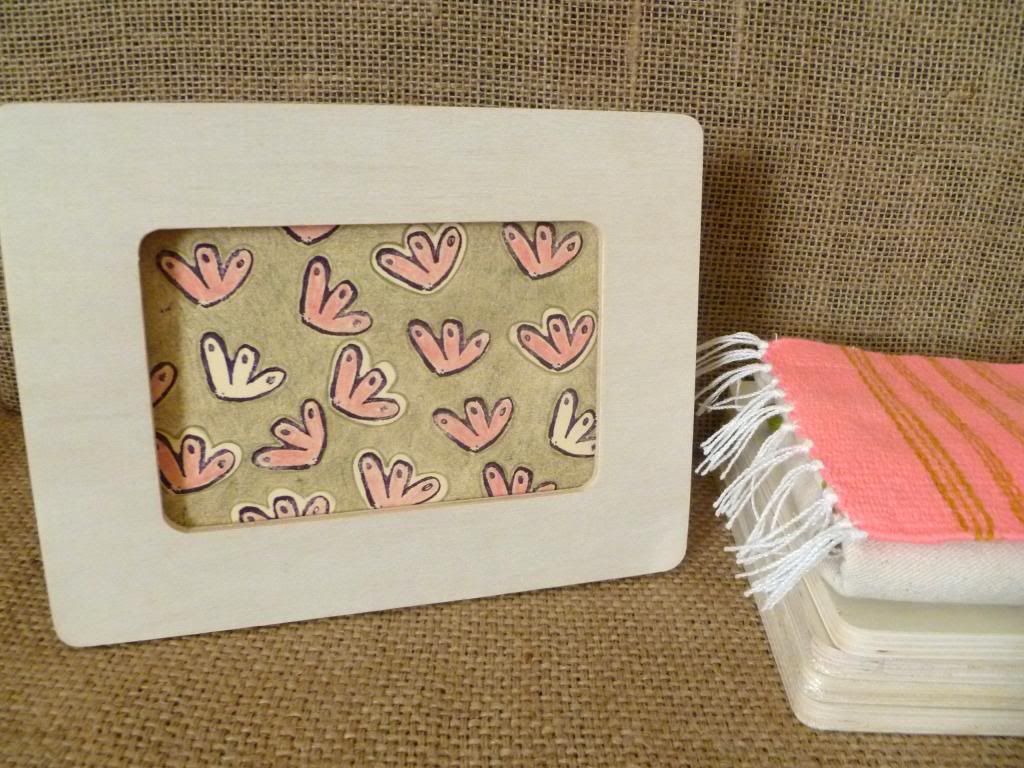
With the pink floral picture, I colored in the negative and positive space. For your project, you can design it as you like.
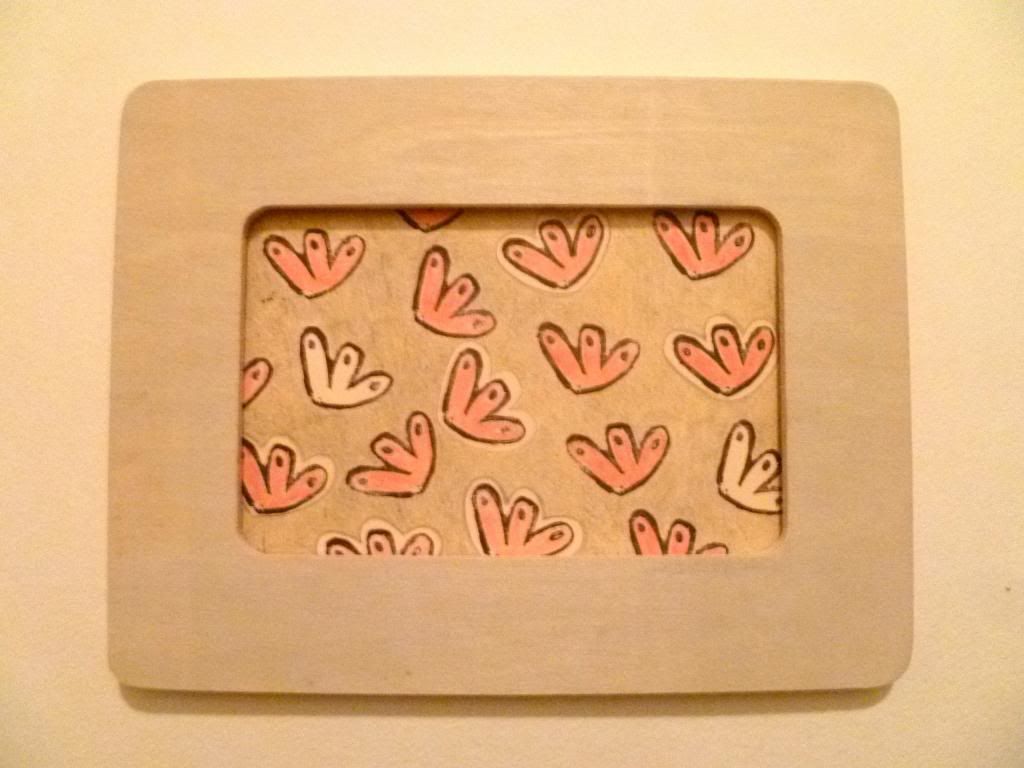
There ya go - affordable art for any space in your nest made by your own two hands. And don't forget to sign your masterpiece!

No comments:
Post a Comment